
 |
| {Glittered ombre deer in candle display} |
Every Christmas, as busy as the season can get, the kids and I try to do at least a few crafty projects. Last year, I had seen a few crafty folk glittering up plastic animals and placing them in displays and terraniums. Ever the glitter fanatic, I made a mental note to attempt a similiar project this year. With ombre being all the rage from hair color to fashion and homewares, I decided to somehow tie it in and put my own spin on glittered animals.
This is what you'll need:

plastic toy animals (deer, penguins, etc.)
(Schleich is the brand name I used; about $3-5 each)
Mod Podge or other craft glue
small paint brushes
glitter in varying hues

Next, you'll want to decide what color family you'd like to use. I chose white, gold, copper and brown glitters so that you could really see the gradual light to dark contrast, but any color that suits your fancy will work. Three to four colored glitters should do the trick.

Next, this is where the glue comes in...brush the very bottom of the animal with glue and shake some glitter on it. I let mine dry to the touch before I attempted the next color.
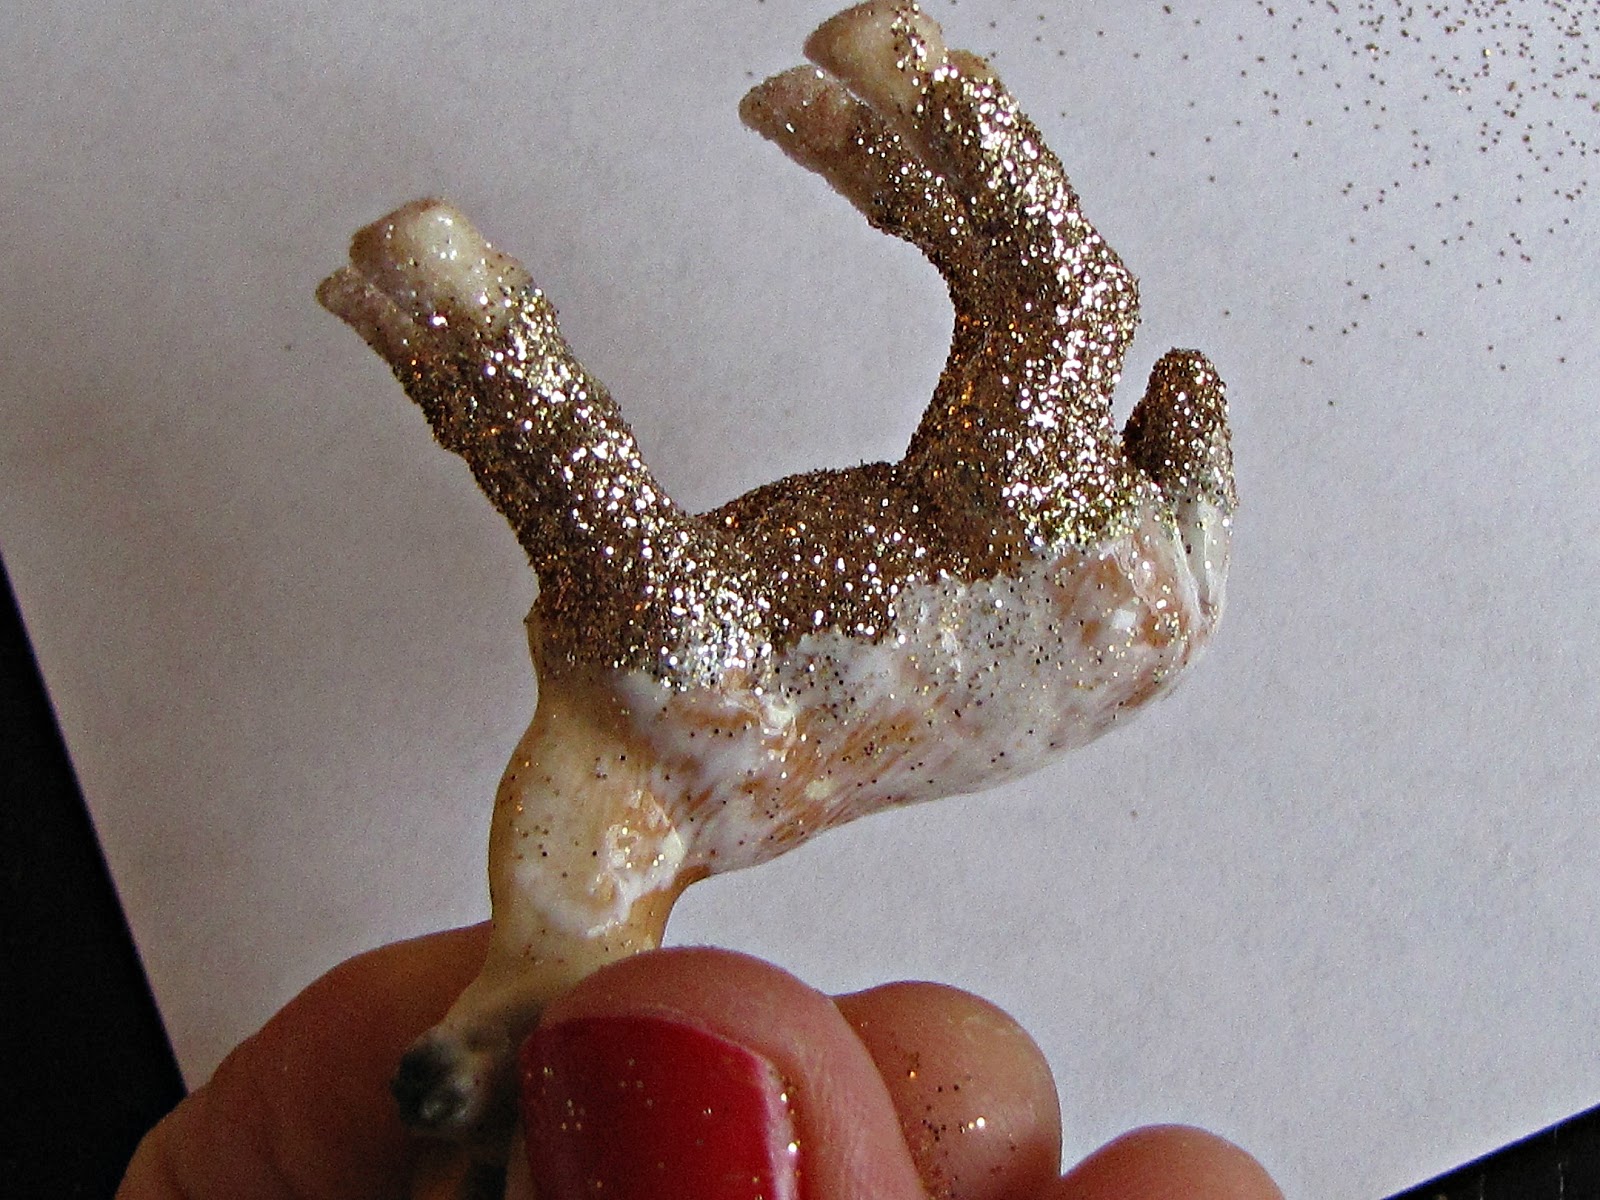
The lighter glitters, such as the white glitter, I had to do about three times so the markings wouldn't show and I could get a decent coat.

I chose to go from light to dark, but you could play around with the color placement
and be as creative as you like...
As you glitter each section, take your brush and blend downwards so that the color change naturally blends into the color below it.

And here is the finished ombre deer! It's an easy, kid-friendly project that doesn't cost very much money and the glittered animals are sweet to tuck in little nooks and crannies around your house. As with any glitter project, it is a bit messy (we're okay with it!), but if you'd like a less messier medium to work with check out Martha Stewart's line of acrylic glitter glue.
Hope you enjoyed the tutorial and
we'd love to hear what crafty holiday projects you've been doing!


